BBC Microbit
![]()


BBC micro:bit
RFID Accessory
Introduction
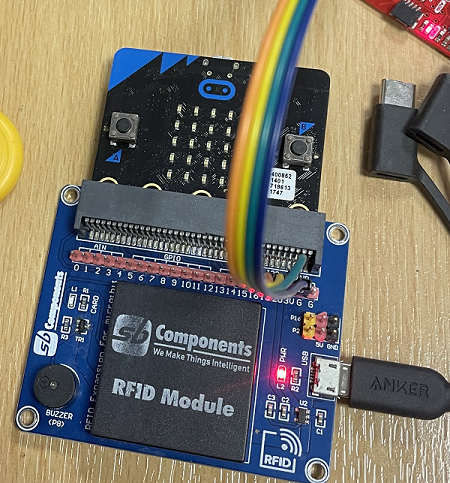
I spotted this accessory for the micro:bit and decided to get one to play with. It is an RFID reader that can read 125Khz RFID tags and output the ID of the tag over UART. The board has a USB connector which will power the micro:bit and provide 5V to some of the extra pins on the board.
Programming
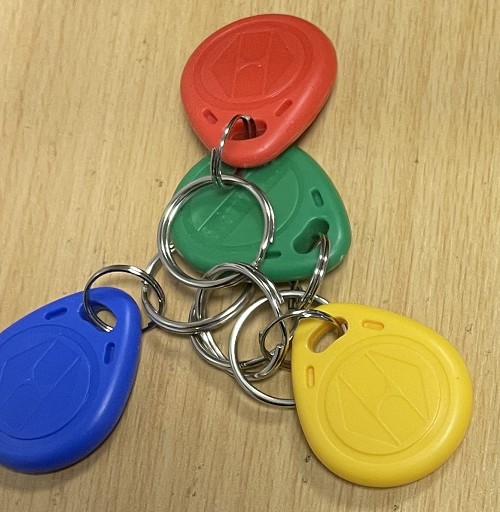
The first thing I needed to do was to find out the IDs for the keyfob tags I bought, carefully checking that they were the the correct frequency.
There is a small challenge because, when you are using UART, you can't use the REPL. You can output them on the micro:bit display itself, but it will be a lot of characters to read. I decided to use two micro:bits. The one with the RFID reader was used to send the tag IDs to the other one by radio and then use the REPL on that micro:bit to make life easy.
Here was the program I used to read the tags.
from microbit import *
import radio

chnl = 10
radio.config(channel=chnl)
radio.on()

uart.init(9600,tx=pin0,rx=pin1)

while True:
    if uart.any():
        msg = uart.read()
        msg = str(msg,'UTF-8')
        radio.send(msg)
    sleep(10)
On another micro:bit, I used the following code. The idea was to be able to press the A button and get the full list of all the IDs that had been previously received.
from microbit import *
import radio

chnl = 10
radio.config(channel=chnl)
radio.on()

ms = []
while True:
    s = radio.receive()
    if s is not None:
        ms.append(s)
    if button_a.is_pressed():
        print(ms)
    sleep(10)
The next thing to do was to find a way to use these in a project. I found out the IDs for a bunch of keyfobs and a card. I knocked up a circuit with the Sparkfun MP3 Trigger. The aim was to use the keyfobs to make the MP3 player start playing different MP3 files and use a card to pause the player.
Here is the whole setup.
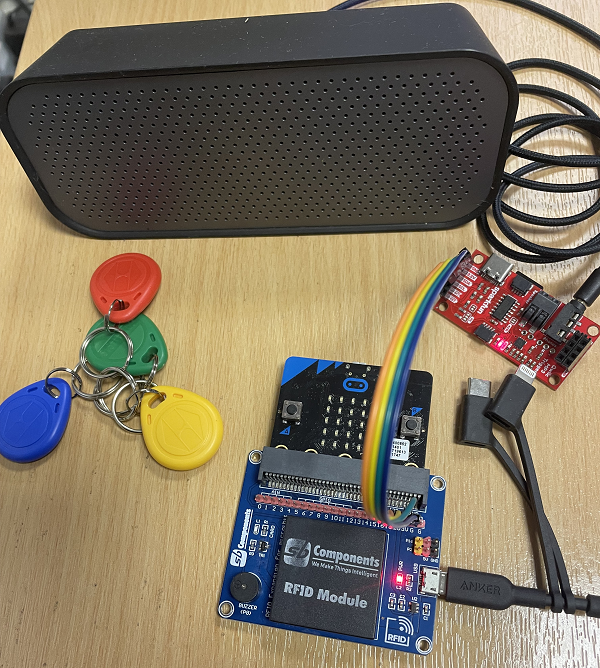
The code for reading the tags and writing to the MP3 trigger is below. There is a list of the IDs I found from my keyfobs. The 0s are where my work door entry card was used in the project.
from microbit import *

# rfid tags
ids = ["410074204752","4100FAEDF7A1","3E00D7F90E1E","4900658463CB","000000000000"]
tags = "YGRBC"
#set up rfid
uart.init(9600,tx=pin0,rx=pin1)

# single byte commands
def w1(c):
    i2c.write(0x37,bytes([c]))

# 2 byte commands
def w2(c,v):
    i2c.write(0x37,b'\x6e')
    i2c.write(0x37,bytes([c,v]))

def stop():
    w1(0)

def next():
    w1(4)

def prev():
    w1(5)

def pause():
    w1(3)

def get_volume():
    i2c.write(0x37,b'\x6e')
    i2c.write(0x37,b'\x0e')
    return i2c.read(0x37,1)[0]

def vol_up():
    v = min(get_volume() + 1,31)
    w2(7,v)

def vol_down():
    v = max(get_volume() - 1,0)
    w2(7,v)

while True:
    if uart.any():
        m = str(uart.read(),'UTF-8')
        if m in ids:
            x = ids.index(m)
            display.show(x)
            w2(1,x+1)0
        elif m == "0111631F2844":
            display.clear()
            w1(3)
    sleep(20)