Raspberry Pi Pico
MicroPython - Basics
MicroPython - More Involved
MicroPython - Pico W
MicroPython - micro:bit
MicroPython - Projects
CircuitPython - Some Basics
CircuitPython - HID Adventures
CircuitPython - Experiments
Other Pages
![]()


Raspberry Pi Pico
Neopixels
Neopixels is the name used by the electronics company Adafruit for a type of RGB LED that they package in different ways. You might also find them by their other name, 'WS2812'. Their guide to neopixels can be found here. The products they make, sell and distribute are all really good.
The point with neopixels is that they have the RGB LEDs and controller all in the same package. There is no need for resistors and, other than power and ground, you only need to use one digital pin to control a whole series of neopixels. They are very bright, easy to connect and, with the right library, easy to control.
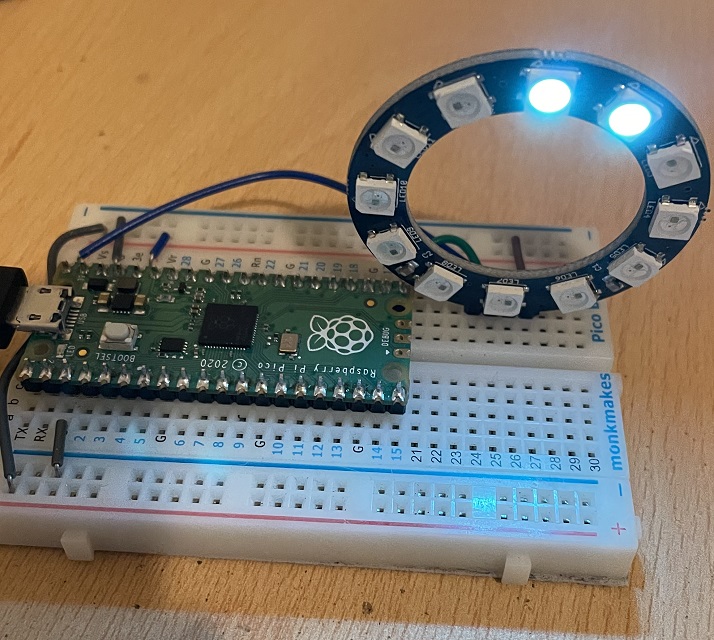
They come in all shapes and sizes. The photograph shows a Kitronik breakout board of 12 neopixels. Kitronik refer to them as 'zip' LEDs.
I have put them in the 'Basics' section because, at the simplest level, they are really easy to use. There is now a built-in library in MicroPython which is really easy to use.
When connecting neopixels to a controller, we need to be careful. They can draw a lot of power. 12 neopixels at lowish brightness is fine to run from the Pico. Neopixels prefer 5V though. So connect the VBUS pin to the VCC or 5V connector of the neopixels. You can also use a separate power supply as long as you keep it to 5V (if using a plug-in power supply) or 4.5V if using AA batteries. When you use a separate power supply, make sure to connect the GND of that supply to the GND of your microcontroller.
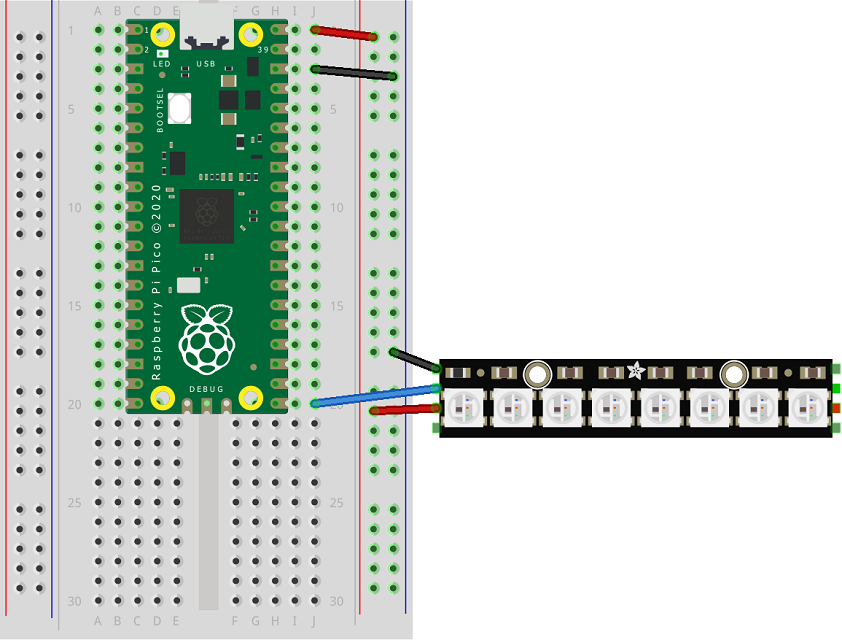
The Fritzing diagram shows the principle with a Neopixel stick of 8 pixels. The main things to note are that you use VBUS for power and that you connect one pin to the DATA IN. These sticks are chainable. The green square on the opposite side is the DATA OUT pin. You can feed this and the power pins to the power and DATA IN pins of another set of neopixels.
This basic test code shows how to set up a strip of Neopixels, how to set the colour for the strip, individual pixels and hwo to find out what colour a specific pixel is.
from machine import Pin
from neopixel import NeoPixel
from time import sleep


pin = Pin(7, Pin.OUT)
np = NeoPixel(pin, 16)

off = (0, 0, 0)
red = (255, 0, 0)
green = (0, 255, 0)

np.fill(red)
np.write()

sleep(1)

np.fill(off)
np.write()

sleep(1)


# set some pixels individually
np[0] = green
np[3] = green
np.write()

# find out the colour of  a pixel

r, g, b = np[0]
print(r,g,b)
Next, I added a couple of subroutines to do a colour wipe and for making rainbow patterns.
from machine import Pin
from neopixel import NeoPixel
from time import sleep
from math import floor

pin = Pin(16, Pin.OUT)
np = NeoPixel(pin, 12)
off = (0, 0, 0)

np.fill(off)
np.write()

def wipe(colour, delay, strip):
    for i in range(len(strip)):
        strip[i] = colour
        strip.write()
        sleep(delay)

def hsv_to_rgb(h, s, v):
    if s == 0.0:
        return (v, v, v)
    i = int(h*6.0) # XXX assume int() truncates!
    f = (h*6.0) - i
    p = v*(1.0 - s)
    q = v*(1.0 - s*f)
    t = v*(1.0 - s*(1.0-f))
    i = i%6
    if i == 0:
        return (v, t, p)
    if i == 1:
        return (q, v, p)
    if i == 2:
        return (p, v, t)
    if i == 3:
        return (p, q, v)
    if i == 4:
        return (t, p, v)
    if i == 5:
        return (v, p, q)

def make_colour(h):
    hsv = hsv_to_rgb(h, 1, 0.5)
    r, g, b = hsv
    return (floor(r*255), floor(g*255), floor(b*255))

def make_rainbow(items):
    return [make_colour(i / items) for i in range(items)]

colours = make_rainbow(len(np))
for i in range(len(np)):
    np[i] = colours[i]
    np.write()
    sleep(0.2)

np.fill(off)
np.write()

i = 0
while True:
    np.fill(colours[i])
    np.write()
    i = (i + 1) % len(np)
    sleep(0.5)