XNA Game Studio 2.0
First Game
Basic 2D Shooter
![]()


XNA Game Studio 2.0
Starting Off
Introduction
The instructions in this section lead up to a 2-player version of the classic computer game, Pong.
Setting Up
Launch C# on a PC that has had the XNA framework installed. You should be able to select to make a new Windows Game just as you see in the screenshot.
When you click on the OK button, a series of files is created. The file that matters to us is the file labelled Game1.cs, you should be able to see that file in the code editor window of C# after you click OK. If, for any reason, you cannot, you will need to double click on the file in the window labelled, Solution Explorer.
Importing Resources
Before we can include any content in the game, we have to import it into C#. Make sure that you can see the Solution Explorer window - use the Window menu if you can't see it.
Click with the right mouse button on the folder called, Content. Choose to Add A New Folder, call the folder Sprites.
Click with the right mouse button on the following sprites and choose to Save Target As and place these files in the sprites folder that you have just made.
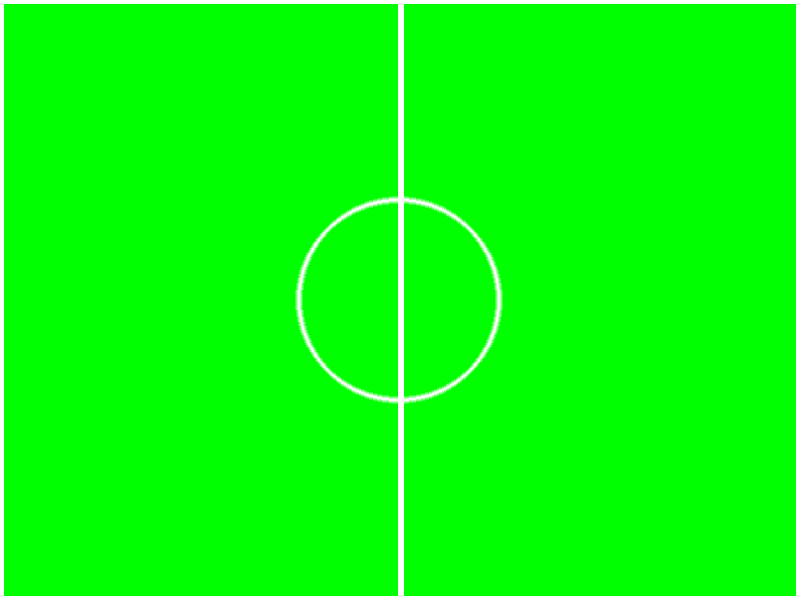
pitch.bmp - background graphic
bat.tga - bat graphic
ball.tga - ball graphic
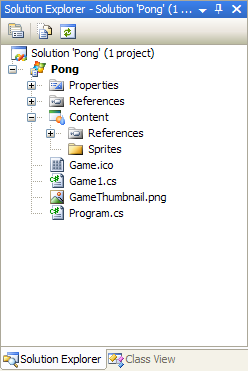
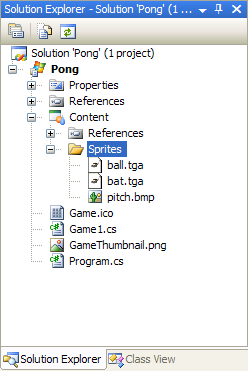
Once you have downloaded these files to the folder, you need to tell C# where they are. Go to the Solution Explorer window and click with the right mouse button on the Sprites folder that you made earlier. Choose to Add Existing Item and select all 3 of the sprites that you copied. They will then appear in the Solution Explorer window just like you see in the screenshot below.
Displaying The Background
The pitch graphic will be the background for the game. There are several steps that we need to undertake in order to show this. Look in the code window at the Game1.cs file.
First we set the size of the screen. Look for this section of code,
public Game1()

{

   graphics = new GraphicsDeviceManager(this);

   Content.RootDirectory = "Content";

}
Change this code so that it reads as follows,
public Game1()

{

   graphics = new GraphicsDeviceManager(this);

   Content.RootDirectory = "Content";

   graphics.PreferredBackBufferWidth = 800;

   graphics.PreferredBackBufferHeight = 600;

}
Now look for the following line of code. It should be near the top of the main game class.
SpriteBatch spriteBatch;
Add the following line directly beneath it,
Texture2D bgTexture;
Locate the following comment in the LoadContent() procedure,
// TODO: use this.Content to load your game content here
Directly beneath this line, you will need to write the following,
bgTexture = Content.Load<Texture2D>("Sprites\\pitch");
Finally, change the Draw() procedure so that it reads as follows,
protected override void Draw(GameTime gameTime)

{

   graphics.GraphicsDevice.Clear(Color.CornflowerBlue);

   // TODO: Add your drawing code here

   spriteBatch.Begin();

   spriteBatch.Draw(bgTexture, new Rectangle(0, 0, 800, 600), Color.White);

   spriteBatch.End();

   base.Draw(gameTime);

}
Testing & Adapting The Code
We compile and run our game by pressing the F5 key. The game will not run if there is an error in the code. You need to check that you have added the lines of code absolutely correctly before attempting to run the game again.
You cannot edit code whilst the game is running. Always remember to close the game window when you want to make changes. Naturally, you need to save your work every time you do something that works well or takes a long time.
We started by setting the width and height of the backbuffer, the dimensions of the game screen. These match the dimensions of the background graphic. If you change the background graphic for one of a different size, you will need to make sure that the screen size matches the size of the image.
Notice that the line of code which draws the background on the screen contains the position where the background image is drawn. The first 2 numbers are the coordinates on screen (x and y from the top left) where the image is drawn. The next 2 numbers are the height and width of the image. You don't have to have a background image that covers the whole screen.