Twisting Puzzles
Puzzle Menus
![]()

Twisting Puzzles
Rubik's Revenge - Simple Solution
Notation
This pages uses the same notation as for the Rubik's cube. You shouldn't be starting this solution unless you have solved the cube first. In addition to the usual U, D, F, B, R & L turns, the smaller letters are used to identify the inner layers. A u turn would be a turn of the layer shown in the image below,

You turn the inner layers in the same way as you would their big-lettered neighbour.
Step 1 - Solve Top & Bottom Layer Corners
Using the same approach as you would for a pocket cube, solve the top and bottom layer corners. The Corners-First solution to the 3x3x3 cube starts off the same way. Use the solutions to those puzzles if you don't know how to get started.
Step 2 - Solve All But Two Top Layer Edges
This stage is completely intuitive. You can't mess up the corners by placing edges. So just place them as easily as you can, leaving a gap as shown in the image.
Step 3 - Solve Bottom Layer Edges
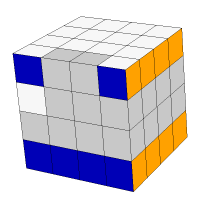
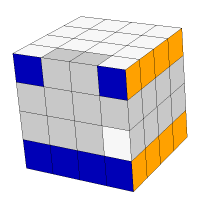
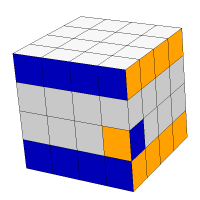
In each of the images, an edge belonging on the bottom layer, has been placed in the back right corner of the u or d layer. The algorithms will place the edge in its position on the d layer opposite the gap we have left in the top layer. This is a fairly simple process - 3 turns and your edge is in. Watch carefully and you'll soon get the hang of how to do this.
 |  |
| F' d' F | F' u F |
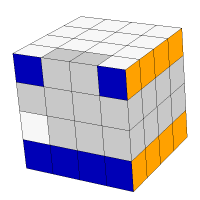
 |  |
| F d2 F' | F u2 F' |
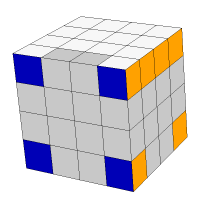
Step 3- Fill The Gaps
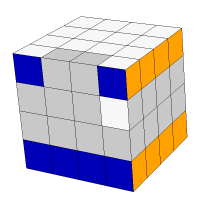
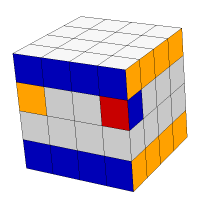
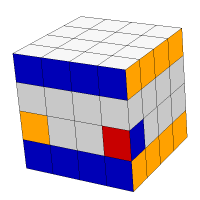
With the bottom layer solved, you will have to replace the two edges that belong in the top layer. The following scenarios and algorithms apply,
 |  |
| F u' F' u2 F u F' | F d F' d2 F d' F' |
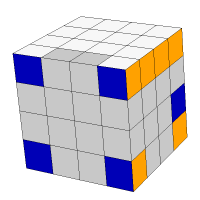
 |  |
| F' u' F u' F' u2 F | F' d F d F' d2 F |
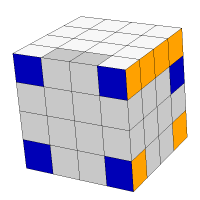
Step 4 - Solve Edges In The u Layer
The next stage is to solve the u layer middle edges. The following algorithm will move a middle edge from the d layer to the u layer. If an edge is twisted in the d layer, it belongs in the u layer. The twisted piece in the image will be moved up to the u layer with the algorithm below,
R2 d' R2 d' R2 d2 R2
You may also need to swap two edges in the u layer. Place two adjacent edges that you wish to swap on the front face as shown. Execute the algorithm and they will change places.
R' u' R' F2 R u R' F2 R2 u
Step 5 - Solve Edges In The d Layer
When the u layer edges are in place - the d edges may need swapping about. The algorithm from the previous section can be transposed to the d layer to swap two adjacent pieces on the front face.
R' d R' F2 R d' R' F2 R2 d'
Step 6 - Solve The Centres
This is the last stage of the process and probably the most time-consuming part of the process. It is, however, easy to do.
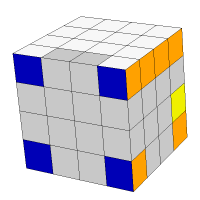
The last algorithm you need is one to switch centre pieces about. Study the diagram below. The blue and white centre pieces can be swapped using the algorithm below the image.
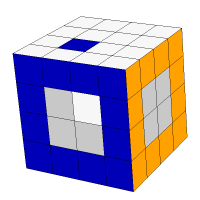
b' u' b U b' u b U'
You can rotate the two faces to bring the centre pieces you want to swap into the positions that you see in the image. You reverse this rotation after you complete the move sequence.
You do this until the whole thing is solved. It takes a while but, once you have memorised the last algorithm, you can see the solution building up as you go.